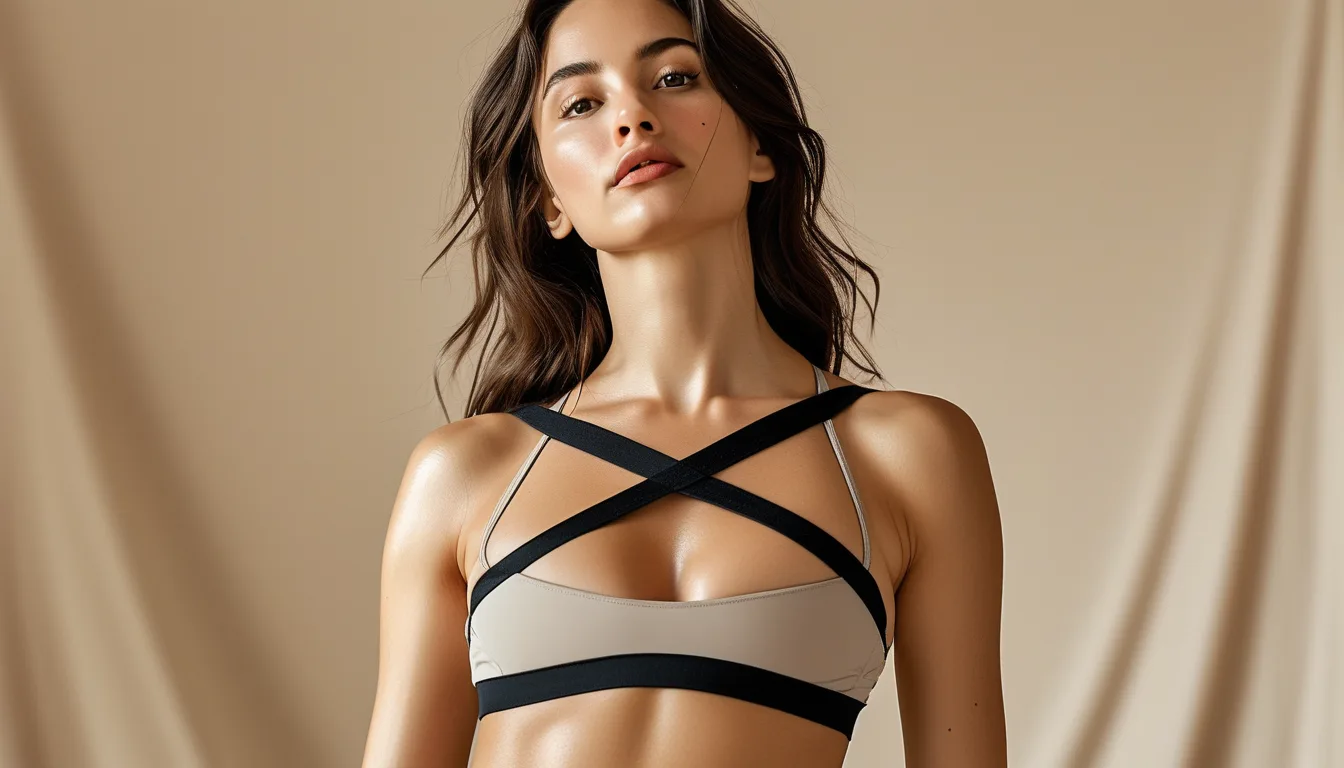
What a Backpack Hip Belt Does to a Crossover Waistband
Quick Answer: A crossover waistband has an asymmetric overlap, so a loaded hip belt presses unevenly across it - one side gets a doubled layer of fabric, the other a single layer, and the diagonal seam becomes a pressure line right where the belt tightens. On short walks it is fine. Over a few hours with real weight, it produces a hot spot on the overlap side. The fixes are to sit the belt above or below the V rather than on it, choose a crossover with a flatter bonded overlap, or switch to a straight high-rise waistband for anything over about an hour under load.
The crossover waistband is the most comfortable thing you own until you clip a daypack around it. Two hours into a hike, one hip is fine and the other feels like it has been quietly filed down.
It is not the leggings failing. It is a geometry conflict that nobody designs for.

Why does the overlap cause a problem under a belt?
A crossover creates deliberately uneven layers. The whole point of the design is that one panel crosses over the other to form a V, which means the fabric thickness across the waistband is not the same all the way around. Under normal wear that is exactly what makes it comfortable, because there is no single tight ring.
A hip belt applies even pressure to an uneven surface. Load-bearing belts are designed to distribute weight across the iliac crest in a continuous band. When that continuous band meets a waistband with a step change in thickness, the pressure concentrates at the step.
The diagonal seam becomes a pressure ridge. Any seam under sustained compression is a candidate hot spot, and the crossover seam is unusually long and runs diagonally across the exact zone the belt covers.
Movement makes it worse than static pressure would. Walking involves continuous pelvic rotation, so the belt and the waistband shift against each other thousands of times an hour. Repeated small movements under pressure is the classic recipe for friction irritation.
Sweat then multiplies the effect. Damp fabric has a higher friction coefficient against skin, which is why the problem shows up on hot days and long climbs rather than on the cool first mile.
And the asymmetry is why one hip suffers. Almost everyone with this problem reports it on one side only, which is a useful diagnostic: symmetrical irritation is usually the belt, one-sided irritation is usually the overlap.
Where should the belt actually sit?
Aim for the belt to sit on your iliac crest, not on the waistband seam. The iliac crest is the bony ridge you can feel at the top of your hip, and a properly fitted hip belt wraps around and slightly above it so the pack’s weight transfers to your skeleton.
If your crossover V lands there, move one of them. Either wear the leggings marginally higher so the V sits above the belt line, or use a slightly lower belt position if the pack allows. A centimetre or two is usually enough to separate the two pressure systems.
High-rise crossovers are often easier here than mid-rise. A taller waistband tends to put the overlap above the belt zone, whereas a mid-rise crossover frequently lands the V directly under the belt.
Check the fit standing loaded, not standing empty. Pack weight pulls the whole system down, so a belt that clears the overlap in the car park may sit right on it once you have four litres of water on board.
Tighten the belt before the shoulder straps. Standard pack-fitting practice puts most of the weight on the hips first and then uses the shoulder straps for stability. A belt doing its job needs less overall tension, which reduces the pressure on whatever it is sitting on.
And do a deliberate check at the first rest stop. Hot spots are far easier to fix at twenty minutes than to treat at two hours, and the first stop is the point at which the sweat and the settling have both begun.

Which crossover styles handle load better?
Look for a bonded or flat-locked overlap rather than a thick stitched seam. The flatter the transition between the two panels, the less there is for a belt to press into. Run your fingers along the seam in the shop - if you can feel a distinct ridge, you will feel it under a belt.
Prefer a wider, softer waistband over a narrow structured one. Width spreads the same pressure over more area. Narrow crossovers concentrate everything into a thin band that sits precisely where the belt wants to be.
Avoid heavy decorative topstitching in the overlap zone. Contrast stitching looks good and adds exactly the kind of raised texture that becomes a friction line under sustained compression.
Check where the pockets are. A side pocket in the waistband adds two more fabric layers and often a zip or an elastic edge - underneath a loaded hip belt, that is an obvious hot spot regardless of the crossover.
Consider fabric weight too. A thicker, more structured compressive fabric resists deforming under the belt; a very light buttery fabric bunches. Bunched fabric under a belt is worse than either flat state.
And be realistic about the category. Crossover waistbands are designed for comfort during unloaded movement - yoga, walking, lounging, lifting. Excellent at that. They are not designed as a load-carrying interface, and no amount of shopping fully changes that.
5 Fixes That Work on the Trail
Fix 1: Move the V above the belt. Pull the waistband up so the overlap sits clear of the belt line. Simplest fix, works immediately, and costs nothing.
Fix 2: Put a smooth layer between them. A thin merino or synthetic base layer tucked in gives the belt a continuous surface to press against instead of a stepped one. This is the single most reliable fix for a long day.
Fix 3: Loosen the belt one notch and re-tighten after ten minutes. Belts are almost always over-tightened at the trailhead, and packs settle. Less tension means less pressure on the seam.
Fix 4: Apply an anti-chafe balm to the overlap zone before you start. Treating it preventatively at the point you already know will rub is far more effective than treating raw skin at lunchtime.
Fix 5: Keep a straight high-rise pair for loaded days. If you hike with weight regularly, one pair of plain high-rise leggings solves the problem permanently, and the crossover pair goes back to being the most comfortable thing you own for everything else.
The one people skip is the third. Almost everyone over-tightens a hip belt at the start and then blames the leggings for a pressure problem they created themselves.
FAQ: Crossover Waistbands Under a Pack, Answered
Can I hike in crossover waist leggings?
For short and unloaded walks, absolutely. For multi-hour hikes with a loaded hip belt, expect a hot spot on the overlap side unless you move the V clear of the belt or add a smooth layer between them.
Why does only one hip hurt?
Because the crossover overlap is asymmetric - one side has doubled fabric and a diagonal seam under the belt while the other does not. One-sided irritation points at the waistband; symmetrical irritation usually points at belt fit.
Should the hip belt go over or under the waistband?
Over, but positioned so it sits on your iliac crest rather than directly on the crossover seam. Adjust the rise of the leggings rather than trying to bury the belt underneath the waistband.
Does a base layer really help?
Yes - it gives the belt a continuous, low-friction surface instead of a stepped one, and it is the most reliable single fix for a full day under load.
TL;DR:
- A crossover waistband has uneven fabric layers and a long diagonal seam that a loaded hip belt presses into unevenly, which is why only one hip usually suffers.
- Sweat and pelvic rotation turn that pressure point into friction, so the problem appears on long, warm days rather than short cool ones.
- Reposition so the V sits clear of the belt, tighten the belt before the shoulder straps, and re-check fit once the pack has settled.
- A smooth tucked base layer between skin and belt is the most reliable full-day fix; anti-chafe balm applied preventatively is a close second.
- For regular loaded hiking, keep one straight high-rise pair - crossovers are built for unloaded comfort, not as a load-bearing interface.
The waistband is not the problem. The place you clipped the belt is.
See It in Motion
Seen here: High Waist 8” Yoga Shorts — shop similar styles on bubblelime.com
Keep Reading
This article is for general informational and styling purposes only. Fit, sizing, and product availability may vary.